Html Part 2


Hi, friends welcome back to my blog quick intro Myself Poshith, a 3rd-year undergrad who started a web dev journey and documenting to give back to the community. Today We will discuss HTML tags in the body element and some use cases the interesting one is the last we will make a basic personal website with only HTML. Without due let's start...
As we discussed earlier what we write in the body tag is the one that we can see on a webpage. So It's important how your website looks right. So we can get more traction and attraction toward our site.
In the body, we will try to manipulate text in various ways that's what we do with HTML right? Let's make a heading using which draws the viewer's attention. In HTML we have 6 heading tags ranging from h1-h6 with various sizes of text. You will observe it
<!DOCTYPE html>
<html lang="en-US">

<head>
    <meta charset="utf-8" />
    <meta name="viewport" content="width=device-width" initial-scale="1.0" />
    <title>❤Poshith Website</title>
</head>
<body>
     <h1>Poshith</h1>
    <h2>Poshith</h2>
    <h3>Poshith</h3>
    <h4>Poshith</h4>
    <h5>Poshith</h5>
    <h6>Poshith</h6>
    <h7>Poshith</h7>
    <h8>Poshith</h8>

</body>
Try yourself with the above code and check the difference between the sizes or thickness of our text. I have you said there are 6 heading tags but we can declare any number of tags after 6 tags you will get just normal text there is no manipulation with them so no use.
I think you're familiar with paragraph tag (<p>) as the name suggests we will manipulate the text inside the tag as a paragraph.
I want to mention two special tags <br> and <hr>
<br> -> is used to break the line and go to the new line just line print("\n"); in C and System.out.println(); in java.
<hr> -> horizontal rule. It is used to give a difference between two sections by drawing a horizontal line. If you remember in our school times when we were writing exams we used to draw a horizontal line after every question but as we came to college we forgot to do those things right. But it's back with the new form in the digital world <hr> tag.
We can also manipulate that horizontal line as we wish you to use some parameters/attributes.
align-> It is used to align the line to one specific way such that if you align to the left the line will tend towards the left-hand side of your webpage.
color-> It is used to give color to the line. Just like using colored pencils to draw a horizontal line.
no shade -> Sets the rule to have no shading.
we can also set the height and width of the horizontal line using size and height attributes.
Try to use all the attributes and change them to different values and observe the changes.
<!DOCTYPE html>
<html lang="en-US">

<head>
    <meta charset="utf-8" />
    <meta name="viewport" content="width=device-width" initial-scale="1.0" />
    <title>❤Poshith Website</title>
</head>
<body>
      <h1>Poshith Kumar</h1>
      <br><br>
      <hr align="left" height="100" width="10000" color="black" noshade>
</body>
If you observe the <br> and <hr> don't have closing tags because these are empty which we have discussed in my first blog like <img> tag.
HTML LISTS:
There are two kinds of ordered <ol> and unordered lists <ul>. List means a group of things
Inside both ordered and unordered lists, we have list items <li>. The main difference between ordered and unordered lists is we can ordered is somewhat meaningful because we can list the items in numbers so that we can have a count of list items. We will have some clarity when compared to unordered lists. You can make nested lists like unordered lists inside an order list.
Let's make an unordered Books list and an ordered Hobbies list.
<!DOCTYPE html>
<html lang="en-US">

<head>
    <meta charset="utf-8" />
    <meta name="viewport" content="width=device-width" initial-scale="1.0" />
    <title>❤Poshith Website</title>
</head>
<body>
    <h2>Books</h2>
     <ul>
        <li>How to Waste Your time</li>
        <li>How to Enjoy with your parents money.</li>
        <li>Overthinking and regretting about Overthinking</li>
    </ul>
    <h3>Hobbies</h3>
    <ol>
        <li>Watching insta reels</li>
        <li>Reading and writing blogs</li>
        <li>Playing with my life.</li>
    </ol>


</body>
If you have remembered in the last blog I mentioned about <img> tag which is used to add images to your website using HTML.
<img src="my_pic.jpeg" alt="my_pic"> src-> source of the image file and alt indicates a description of the image. We can also change the width and height of an image as attributes in <img> tag.
<!DOCTYPE html>
<html lang="en-US">

<head>
    <meta charset="utf-8" />
    <meta name="viewport" content="width=device-width" initial-scale="1.0" />
    <title>❤Poshith Website</title>
</head>
<body>
    <p>Try to make sure that pic is in your folder where your html file is present. Try to change the width and height parameters and check how the image looks like</p>

    <img src="my_pic.jpeg" alt="my_pic" width="150" height="150">

</body>
The coolest thing in the whole HTML is the hypertext part Up to now we mostly discussed markup which I briefly discussed in my first blog. hypertext is linking one document or webpage to another document.
Anchor tag <a> -> We use anchor tag for hypertext
You can add title attribute to you anchor tag so that if you hover your mouse on the link it will give a description about it.
<!DOCTYPE html>
<html lang="en-US">

<head>
    <meta charset="utf-8" />
    <meta name="viewport" content="width=device-width" initial-scale="1.0" />
    <title>❤Poshith Website</title>
</head>
<body>
      <a href="https://twitter.com/poshith_kumar" title="This is my twitter account. Feel free to follow me :)">Twitter</a>
       <a href="#">hello</a>
        // In the above anchor tag it just redirects to the same page you're in.
</body>
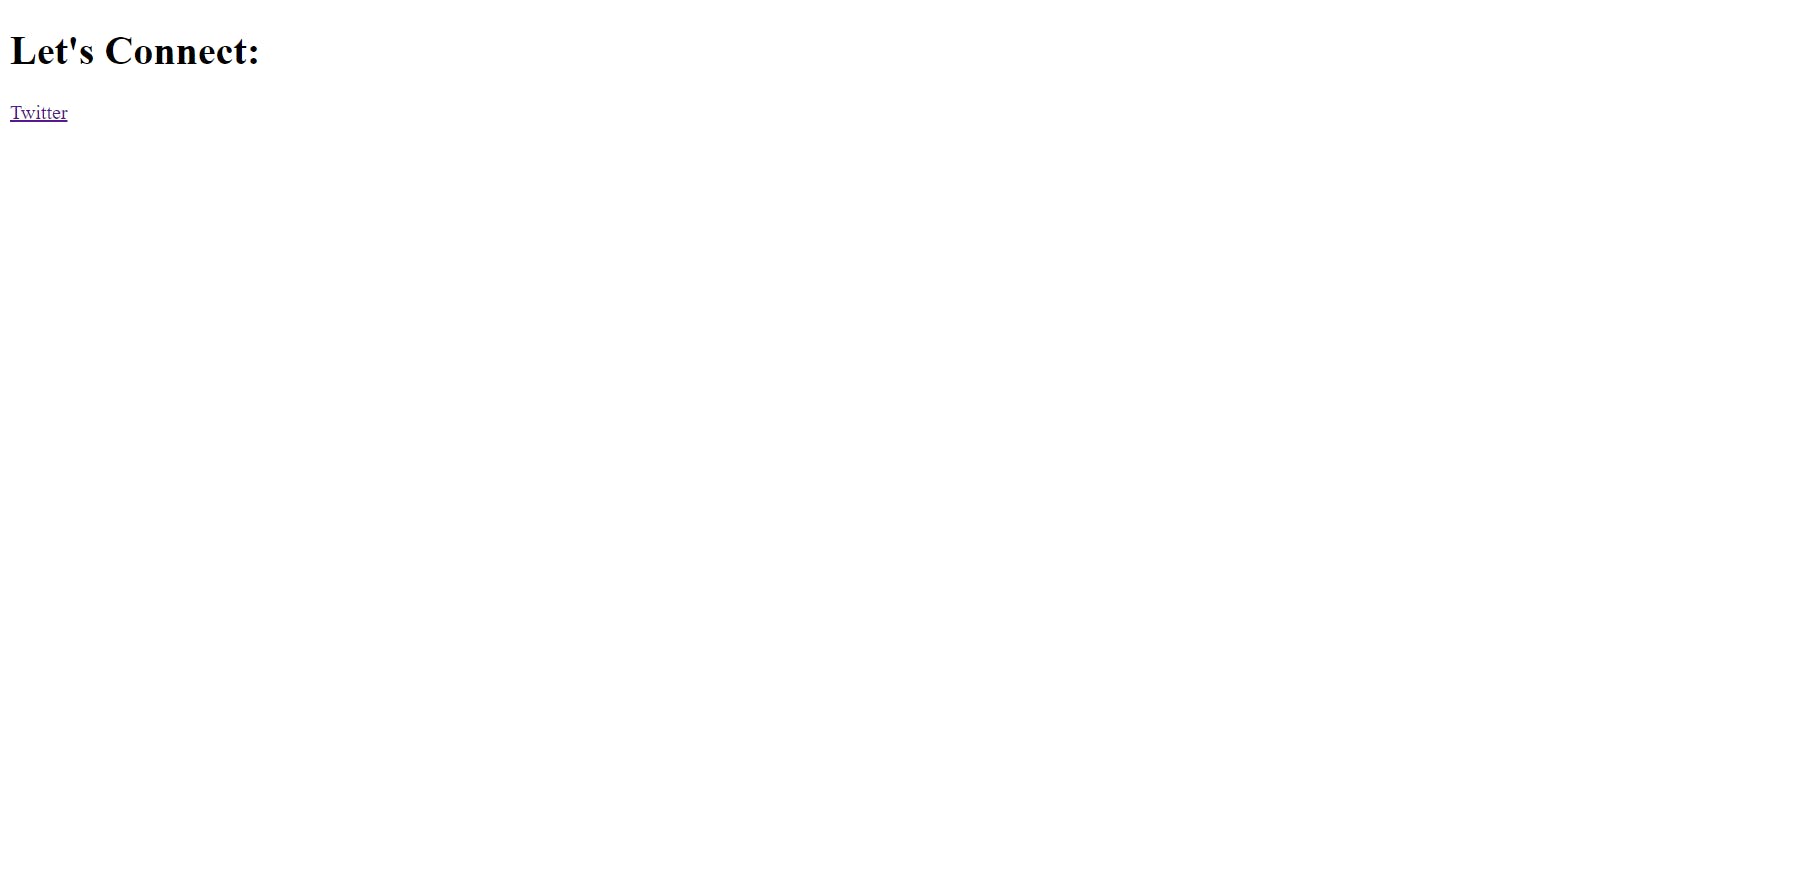
In the above pic, you can observe that Twitter got colored blue after you click it once it will turn to violet. After clicking it will redirect to the website we mentioned in href-> hypertext reference attribute.
You can also link a image with a link if you click the image it will redirect to the website you are referring to. These kind of elements are known as nested elements. One element in another element.
<!DOCTYPE html>
<html lang="en-US">

<head>
    <meta charset="UTF-8">
    <meta name="viewport" content="width=device-width, initial-scale=10.0">
</head>

<body>
    <h1>You can connect me through my social media handles </h1>
    <p>
         <a href="https://twitter.com/poshith_kumar" title="my_pic"><img src="poshith_circled.png" alt="my_pic"></a>

    </p>

</body>
You can also refer the hypertext attribute to an HTML file that is in the same folder as our main html file.
// Contacs.html file
<!DOCTYPE html>
<html lang="en-US">

<head>
    <meta charset="UTF-8">
    <meta name="viewport" content="width=device-width, initial-scale=10.0">
</head>

<body>
    <h1>You can connect me through my social media handles </h1>
    <p>
        <a href="https://twitter.com/poshith_kumar">Twitter</a><br>
        <a href="https://github.com/Poshith24">Github</a><br>
        <a href="https://poshith24.hashnode.dev/">Hashnode</a>
    </p>

</body>

</html>
// Main html file
<!DOCTYPE html>
<html lang="en-US">

<head>
    <meta charset="utf-8" />
    <meta name="viewport" content="width=device-width" initial-scale="1.0" />
    <title>❤Poshith Website</title>
</head>
<body>
    <a href="contacts.html">Wanna Connect With Me</a>
</body>
From the above, we have linked the contacts.html file to the main file. There are more tricks and techniques using anchor tag as you can mail to an email address and many cool things with creating links in mdn docs pls refer for more description.
From this blog apply things that you have learned and create a personal website using HTML. Try to start with your name as a heading brief description of yourself and add your hobbies and skills (use ordered and unordered lists) In last try to create a contacts HTML file(social media links) and link it to your main file. And don't forget to add your pic to our website.
Reference for this blog
Angle Yu's Web Development Course
I highly recommended reading mdn web docs for more description and more detailed information.